


New article
Recently updated
Create a Data Query Using the Query Designer

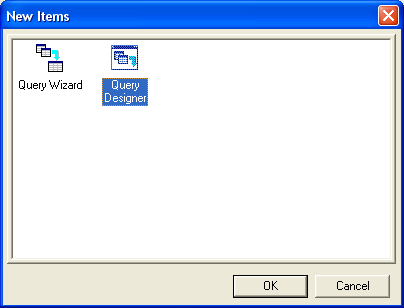
Select the Query Designer
Instead of selecting the Query Wizard, select the [Query Designer].
This will allow a greater flexibility in deciding what tables and fields from those tables you can select.
It is the only way you can select tables that are not naturally formed as inner joins.
This will open up the Table selection page where you can select the table or tables containing the fields you want to include in your report.
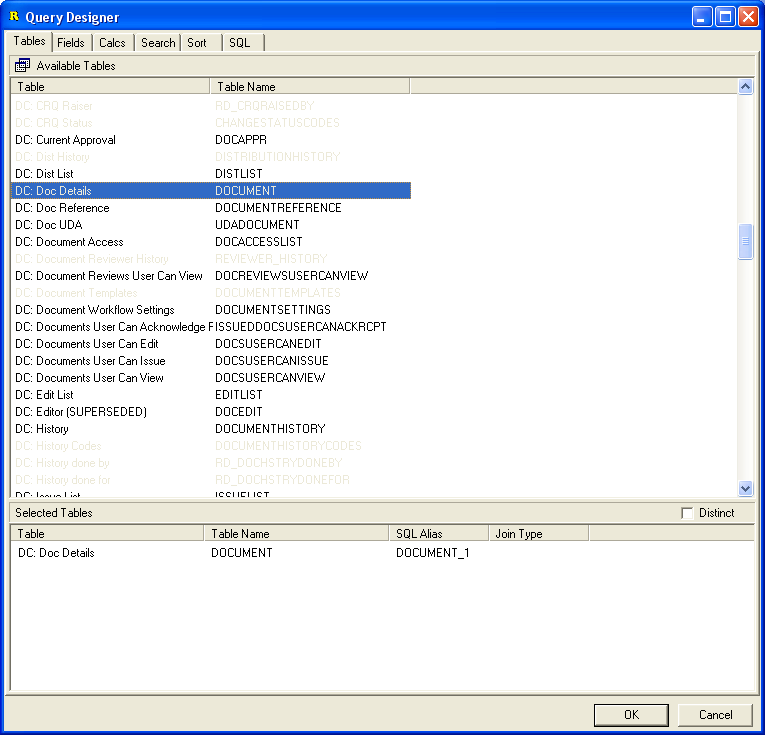
Notice that as you pick one table, others become greyed out.
This is because the "AutoJoin“ function has been selected, and will ensure that if two or more tables that are available, are selected they will automatically be joined by a field common to both tables.
In addition, it will also help you select tables that are relevant to each other, and will grey out those that do not have a direct relationship with the tables selected.
Autojoin
The AutoJoin function can be switched off to allow you to decide which tables you would like to search for data.
The tables where a natural inner join (simple or common join) exist are shown in Bold.
In most instances you will be able to create your report allowing the system to define the available tables with the AutoJoin function left on.
Joins, Inner and Outer
Where a join other than a common or simple join, or where there does not seem to be a natural join between two tables is required, ReportQuest will present a dialogue to create a join.
A join is used to combine rows from multiple tables.
There are different kinds of joins.
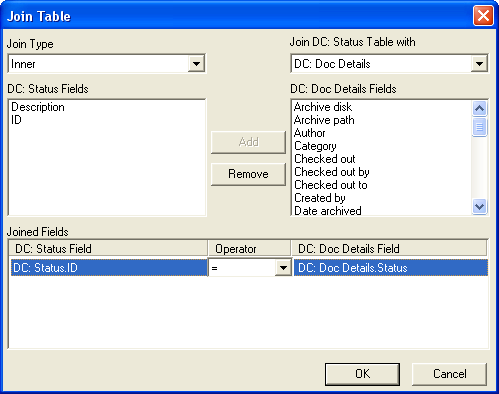
Inner Join(simple join)
Inner joins return all rows from multiple tables where the join condition is met, for example:-
In the Document Control Module the Doc Details table has a field DC:Doc Details.Status which returns a number for each document in the table.
The number returned does not mean a great deal unless you know the meaning. In the Doc:Status Table the DC:Status.ID matches the field in the Doc:Details table, and has a description with it.
The inner join returns a list of all the documents, each with its relative status ID and shows the description applicable to each document.
It does not show all the different Status ID fields, but only those linked to the documents in the first table.
In a list of Staff (StaffID) in one table (Personnel Table) a link is made to the Staff ID in the other table (NCR: Details.Originator) so that the full name of the person who originated or reported the NCR can be extracted from the table of Personnel Details.
Outer Join
An outer join returns all the rows from one table and only those rows for a second table where the join fields are equal.
There are a number of Outer Joins; Left Outer, Right Outer and Full Outer.
The Left Outer join retrieves records from both tables, retrieving all the records from the left table and records from the second or right table where the condition values match. If there are no matching values in the right table the join still returns all the records from the left table with a null value.
A Right Outer join retrieves all the records from the right table and only those from the left where there is a corresponding value in the right table. The rows with no corresponding left table reference also return a null value.
Be very careful how you use joins. You should have a very clear idea of what level of data you want from your report.
In most cases it is advisable to use the Autojoin facility to generate the query.
Other Queries and joining tables
A number of unique queries can however be connected together.
For instance if we want to create a report of Audits run and NCRs raised from them then we need to create three separate queries and then join them with the common factor in each one.
Start by creating the main audit report but ensure that you have the AUD:Details table, AUD: Assessors (if needed), AUD:Types and Aud:Results, and you may want to include the XSYS:Customer tables as well. All these tables should be available as Inner Joins and can automatically be selected.
With this selection, we are not able to directly choose the NCR table or the Department names table.
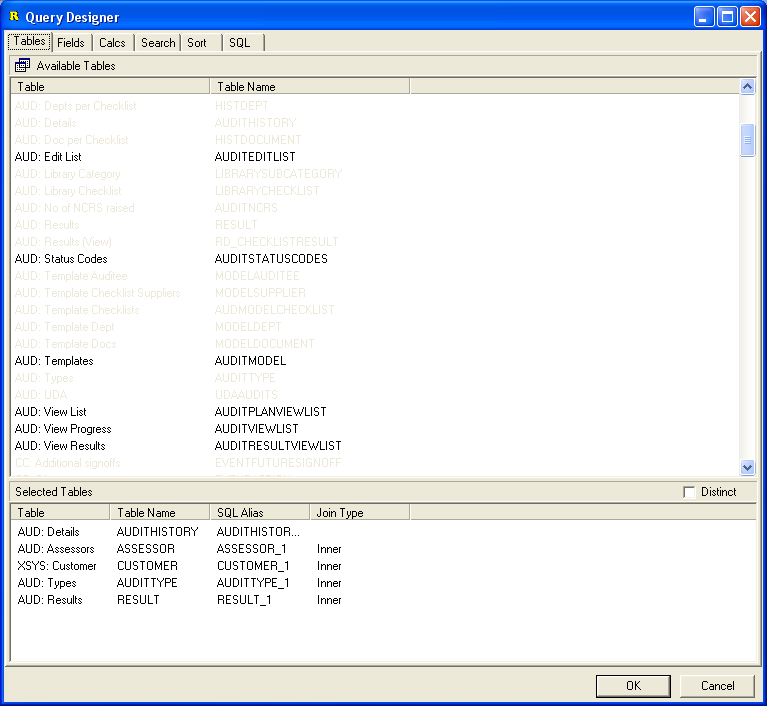
From the selected Tables we can now select the fields we want to use in our report.
Highlight the field in the upper box, and using a mouse double click, move it to the lower box. Do this for each field we want to use in our report, even if the field is not to be displayed.
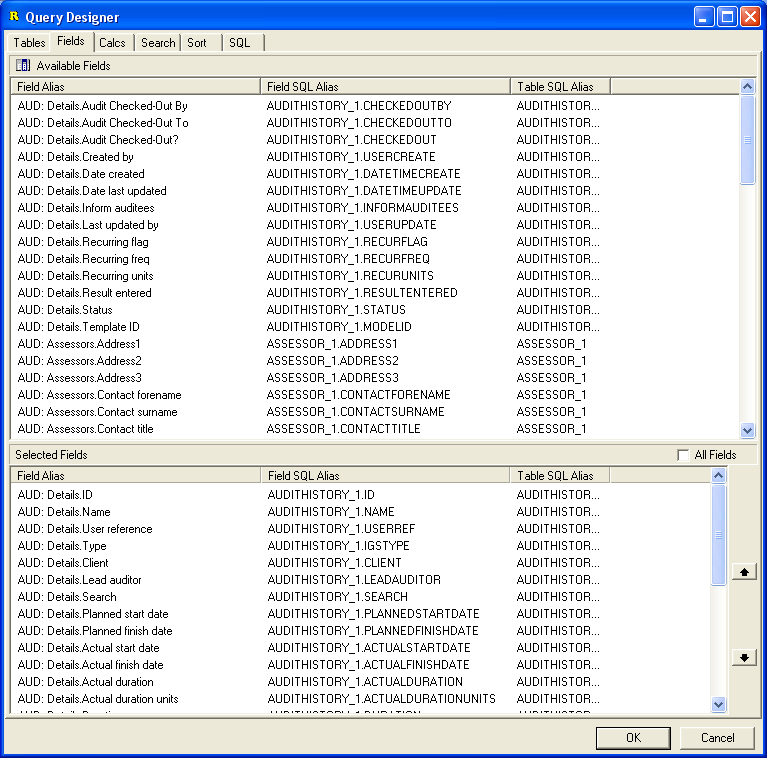
Now return to the Dataview page, select [File] and [New].
This time select the NCR:Details table, and select the fields needed from the list.
Main fields to select are the 'NCR:Details.ID', 'NCR:Details.MasterID'.
The Master ID will link the NCR to a specific event, in this case the originating Audit.
Also select the XSYS:Departments table and the 'XSYS:Departments.Name' field.
Now connect the fields that you want to match by highlighting one from the Query and link it to its match in the other query.
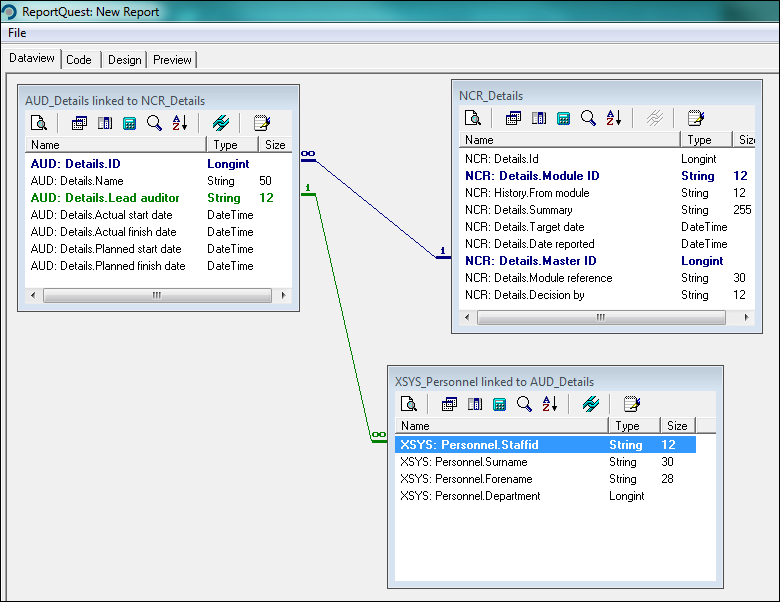
The Dataview
That is the first stage, and has created the query and now shows the Dataview with the fields of data from the database that will be used to create the final report.
From the Dataview screen we can check that we have the correct data for the report.
Select the view icon 
This will present a simple view of all the results from your query selected.
Note you can only show a Dataview from each individual query, not from the combined ones.
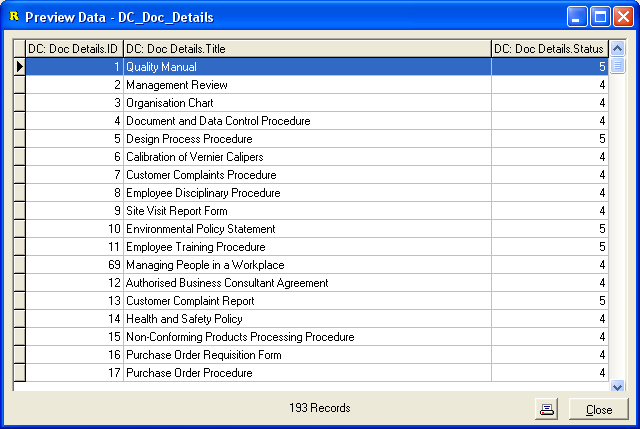
Once you are sure you have the correct records, move to the design tab to design the layout for the report.