New article
Recently updated
Assessing a Nonconformity (NCR)

Assessment can only be carried out once a NCR has been raised. This is a fairly rigorous stage in the NCR life cycle as much of the information entered becomes 'set in stone' with the exception of;
NCR Description
Changing Target Dates
Changing User Reference
Changing Search Code
Updating User Defined Analysis
All of the above are changed via the [Change NCR Details...] menu, post assessment.
Depending if Business Rules are used, the NCR can be assessed either from the Task Box or [Assess NCR] from the [Control] menu. For the purpose of this article, the menu is used. Select [Control] [Assess NCR].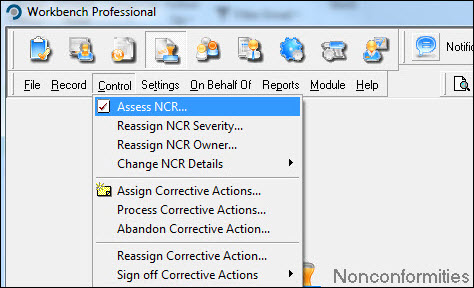
Locate the NCR from the list displayed and press [Select].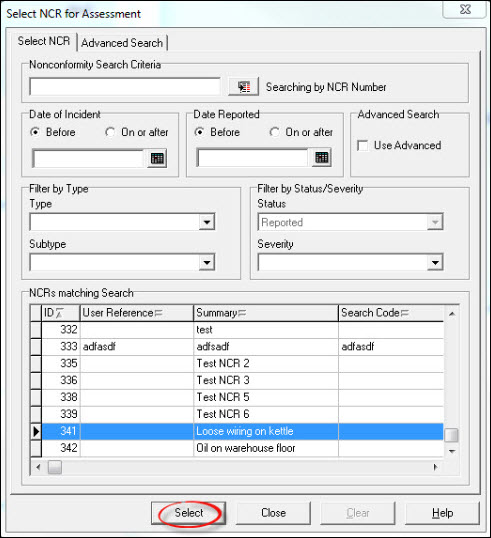
Review the information on the [Details], [Description], [References] and [Analysis] tabs, amending if necessary. If the NCR is no longer required it can be rejected at this stage, via the [Reject] button. Assuming all is OK, press [Accept].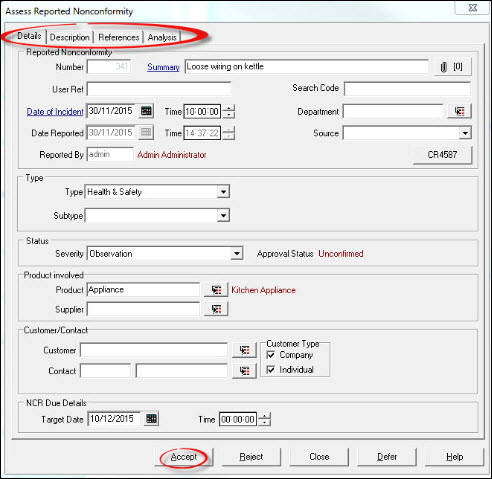
Respond [OK] to the "Confirm Nonconformity Assessment" message, adjusting times if required.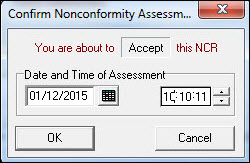
Enter a password and press [OK].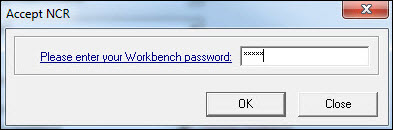
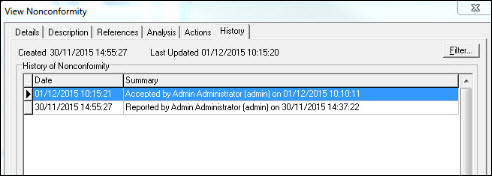
On return to the "Select NCR for Assessment" window, select a further NCR for assessment or press [Close] to exit. The NCR has now been assessed and the event recorded in its history.