


New article
Recently updated
Raising a Change Request to Edit a Document

From the Document Control module select [Changes] [Raise Change Request] from the menu.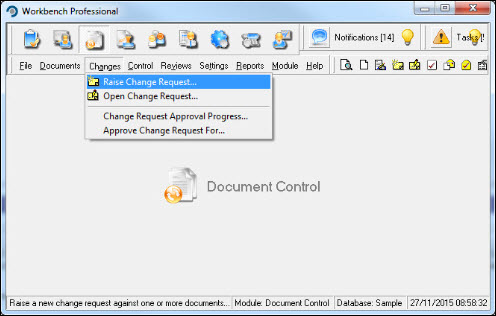
Press [Add].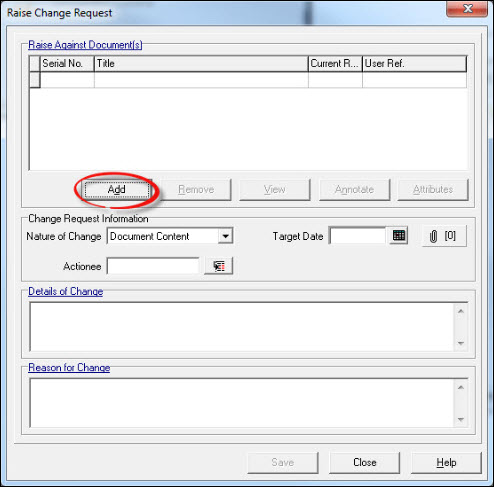
Locate the document that the Change Request is being assigned to and press [Select].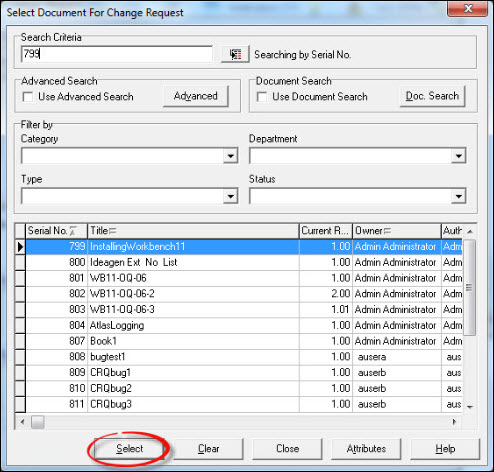
Ensure that the Nature of Change is set to 'Document Content' (the system defaults to this Change Request type). Add an Actionee if required. The Actionee is the user that will implement the Change Request when it has been approved. Complete the mandatory Details of Change and Reason for Change and press [Save].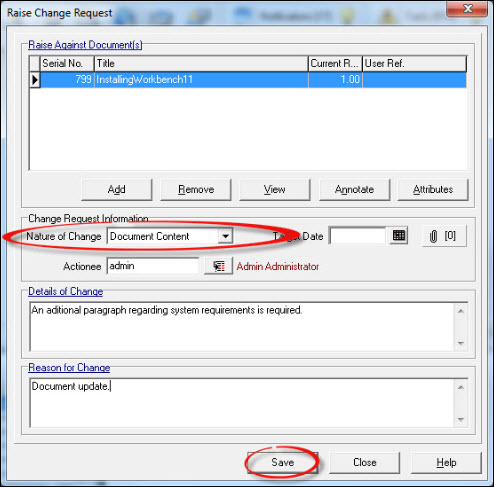
The Change Request can be approved from either a task that will have been automatically generated and placed in the Actionee's Task Box, or from the [Changes] [Open Change Request...] menu item. For the purpose of this article, the process is documented via the Task box. Open the [Tasks] by clicking on the  icon.
icon.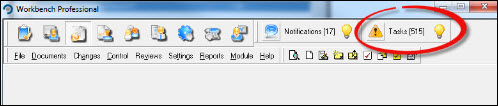
'Double Click' the relevant Task.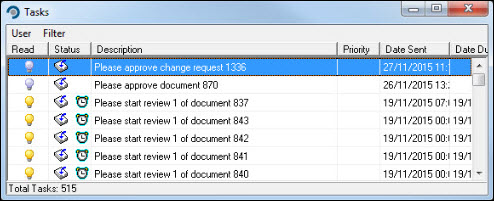
The "Change Request Detail" window opens, allowing the Change Request to be approved. It can also be rejected but requires a reason (and password) from the user, which is written back to the document history. Press [Approve] to proceed.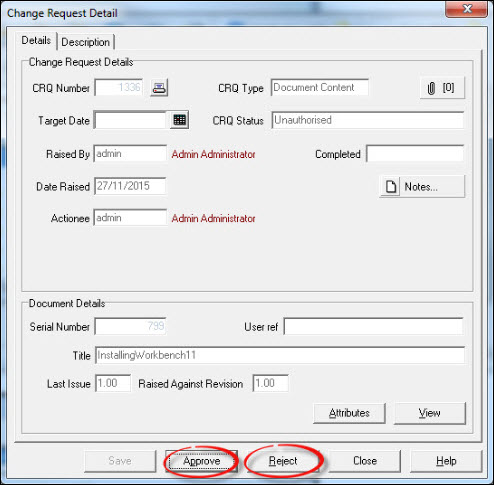
Provide a password and press [OK}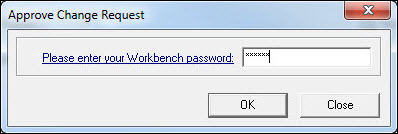
Workbench returns to the Tasks box and shows a task that allows the document to be edited. 'Double Click' the task to proceed.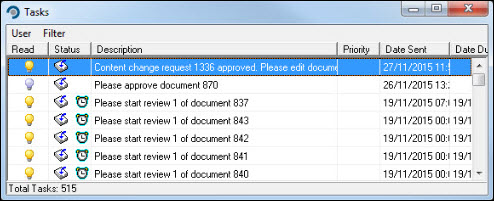
From the "Next Revision Level" window highlight the Change Request Number and press [Assign]. Select either of the 'Document Editing Options' if required and press [OK].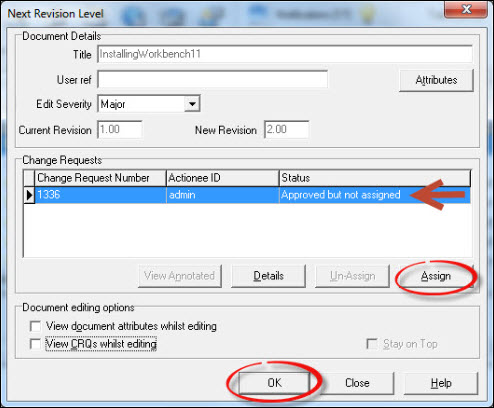
Proceed to edit the document and, when complete, follow the approval process.